


20,000,000,000. Ten zeroes! That’s how many pounds of clothing end up in landfills every year. Without getting too depressed at that fact, let’s jump into solution-mode. How can we help? The answer isn’t donating clothes- because although that is a much better option than the tossing them in the dumpster, around 80% of donated clothing ends up in landfills - there's that much unwanted clothing in our world! A lot of it doesn't even fit in thrift stores. How we can help is simple: a needle and some thread. (And a couple rad patches if you’re into it.)
Our favorite clothes wither away after hundreds of wears. We get a hole in the knee of our buttery soft Levis, a seam comes undone along the arm of our favorite sweater, and our elbows tear a hole in our jackets and flannels. Oof it can be sad to see our most-loved items reaching the end of the line. But we’re here to steer you away from the fear and loathing of your clothes getting older with some easy beginner steps on mending, repairing, and making your clothing last forever- and boy is it simple!! PLUS with these easy steps, your clothes will level-up in coolness with that perfectly worn-in, vintage look.
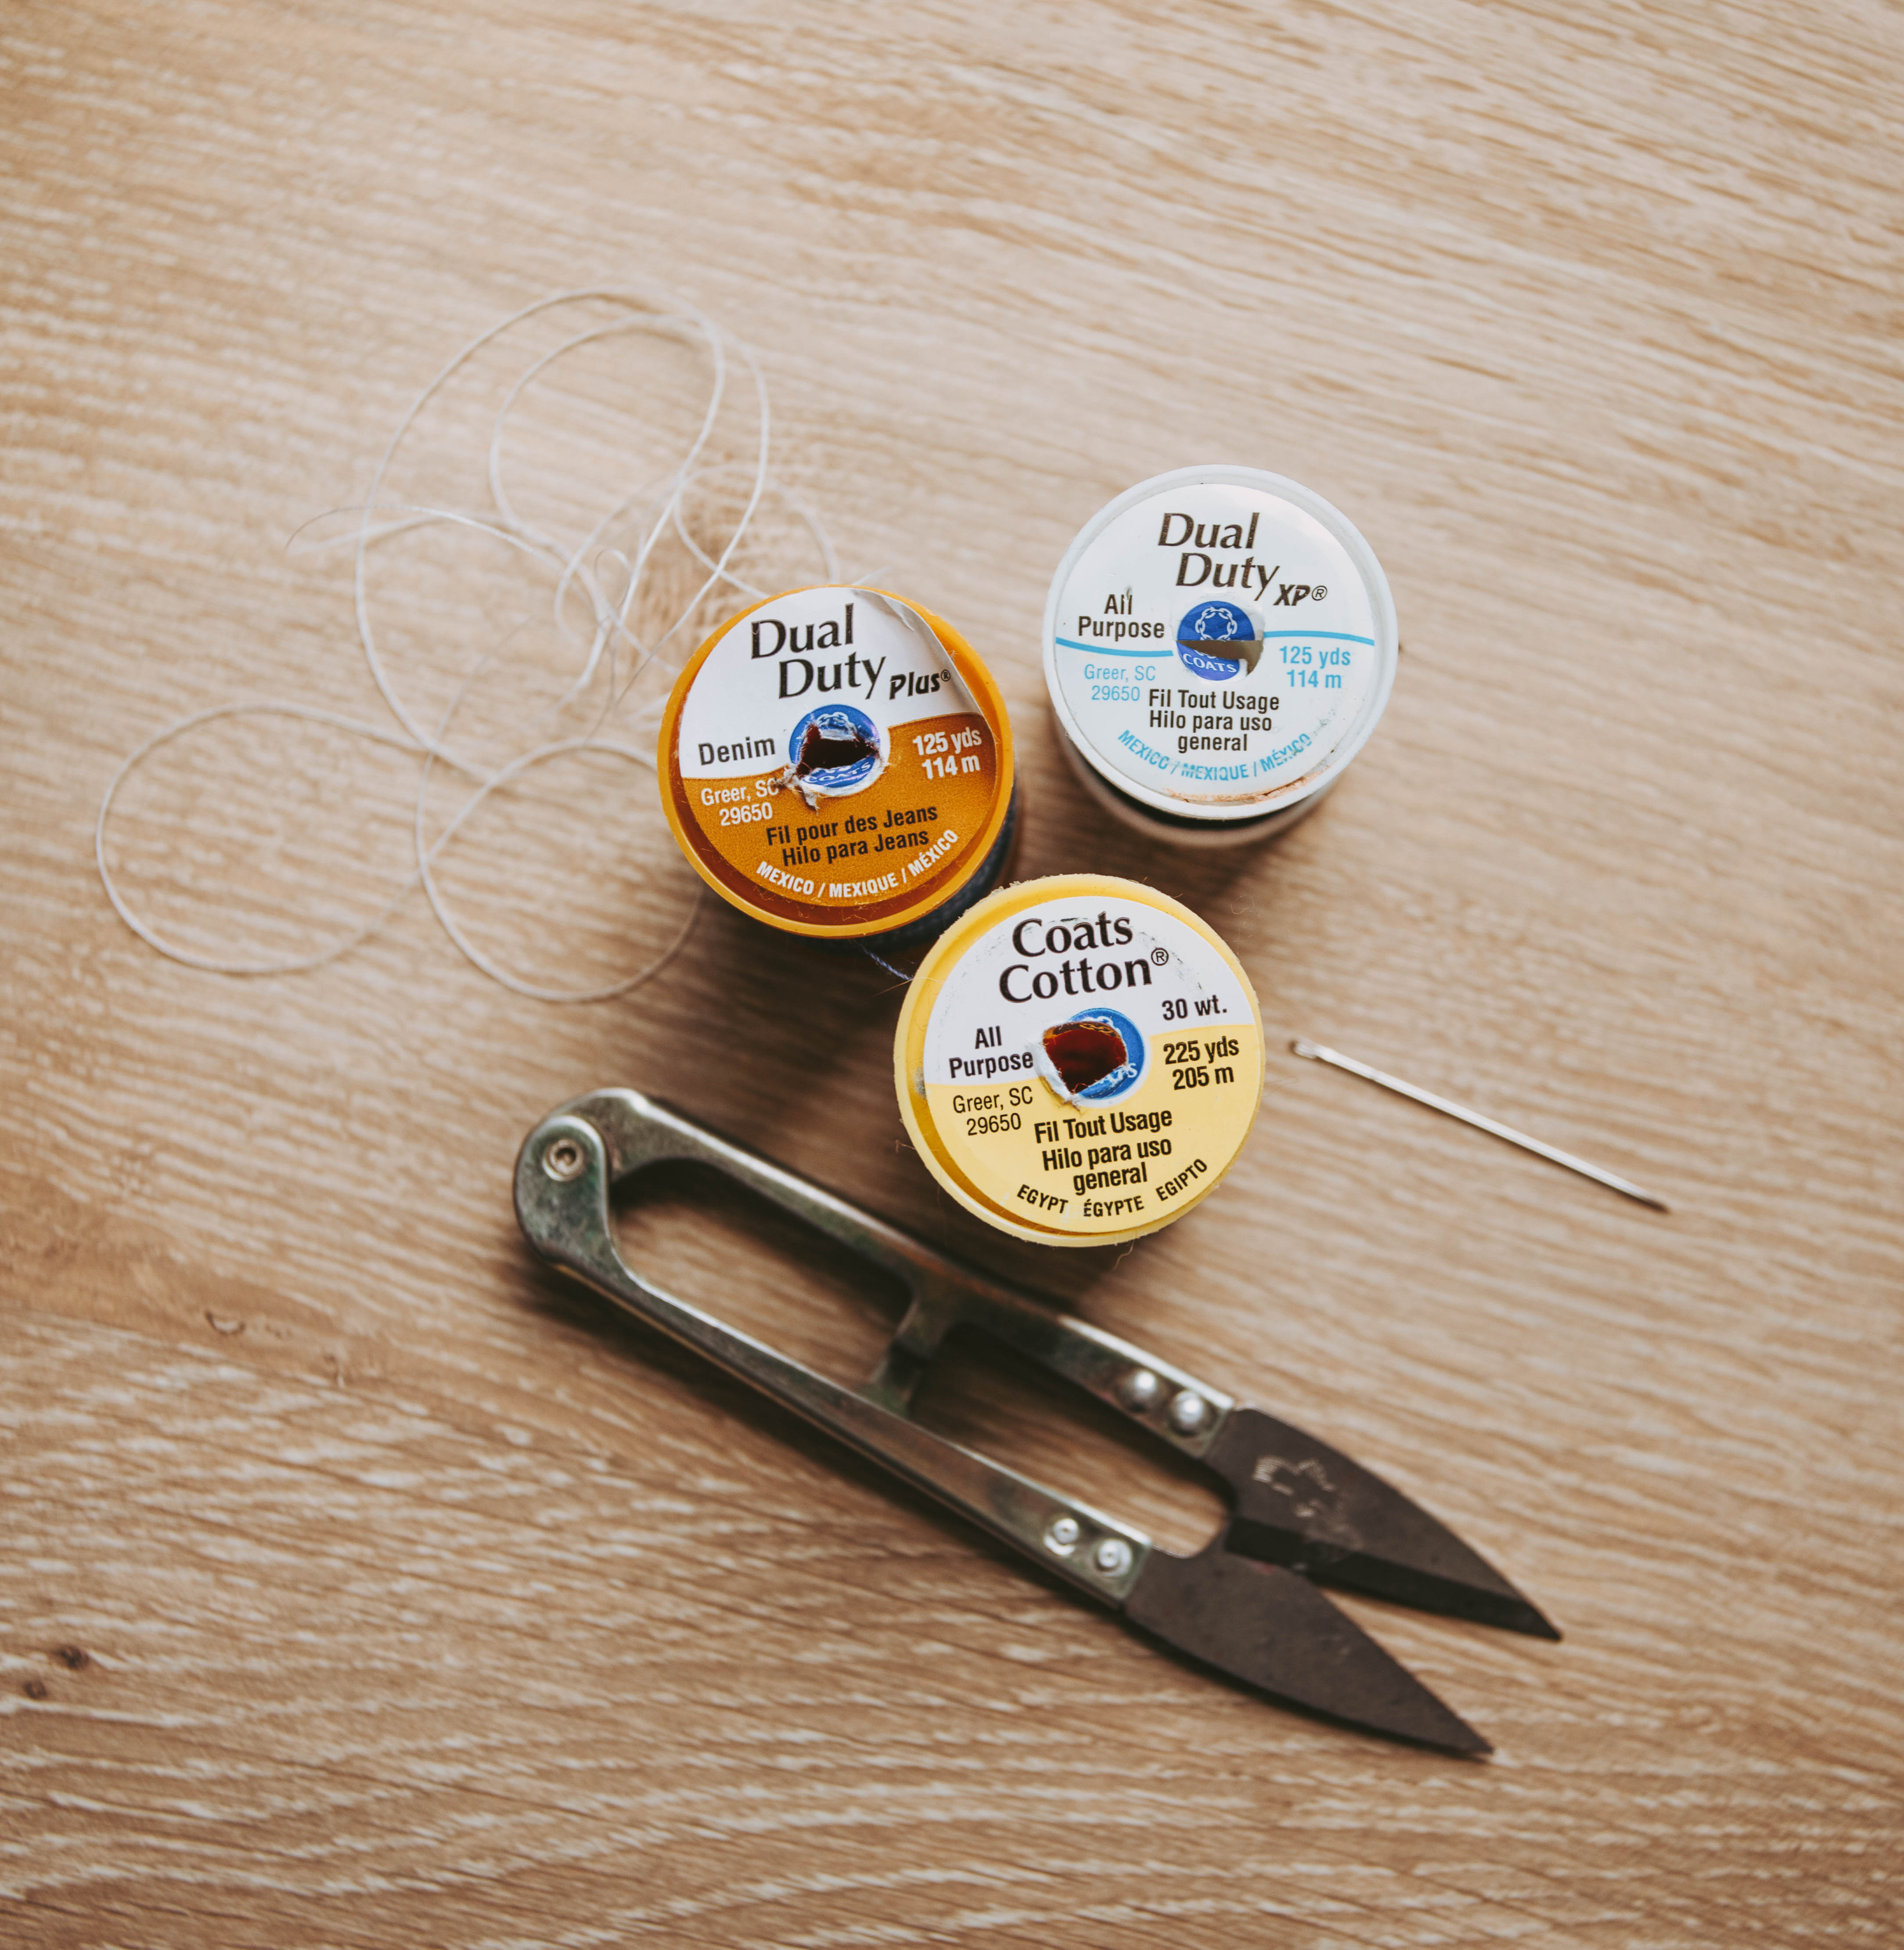
Step 1: Sewing kit! Thankfully they’re affordable and small enough to carry around with you on the daily or while traveling. One of the most common clothing mishaps is an unraveling seam- also, thankfully, the easiest thing to fix! (For you newbie sewers like us, here’s how to thread a needle.)
Step 2: Learn 1 (or all if you’re an overachiever) of the 6 classic types of hand stitching. For the seam on the shirt in the pics we chose to sew a running seam and then secured it with a whipstitch. Here is a great video to follow along!

Vintage t-shirts are a rad addition to any wardrobe but tend to be very delicate! This one had a split seam in the shoulder.


Always choose a thread color closest to the garment being sewn. We only chose black here so you could better see the stitches!
Step 3: Patch it up! Pro tip: patches aren’t just cool, they’re also insanely helpful when in a pinch or if intense denim mending skills just aren’t your forte (same.) Most patches are iron-on, which will hold to your clothing for like a day. Once washed and worn, the glue can become loose on iron-ons, so always give the outer rim of the patch a good and secure whipstitch or running stitch.

The hole in a good old pair of Levis we decided to patch up^


Step 4: Be a little more delicate with your clothes. The more clothes see the washing machine and ESPECIALLY the dryer, the more they deteriorate. Something we’ve learned the hard way is to hand wash your more delicate vintage pieces to maintain their structure. Here's a how-to guide for hand washing, because sometimes the most simple tasks have guidelines you should follow. (https://www.wikihow.com/Wash-Clothes-by-Hand)
Making your clothing last is all about personal preference and what works best for you. Maybe learning how to sew can be your summer 2019 hobby! A cool patch can start a great conversation with a stranger and you can eat it up when your friends brag about your rare new sewing skills. Next, you can start making headbands, second-hand tees, and home-made patches with the fabrics from your projects because isn’t that how all great businesses start these days? From the ground up, with friends behind ya, and an eco-friendly mission!? However you choose to keep your clothes kicking longer (ps- forever is possible), always remember you are taking one more great step toward keeping textiles and waste out of our Earth's landfills. And hey- we think that’s pretty rad.

</span></p>
<br>
<p><span style="font-weight: 400;">Our favorite clothes wither away after hundreds of wears. We get a hole in the knee of our buttery soft Levis, a seam comes undone along the arm of our favorite sweater, and our elbows tear a hole in our jackets and flannels. Oof it can be sad to see our most-loved items reaching the end of the line. But we’re here to steer you away from the fear and loathing of your clothes getting older with some easy beginner steps on mending, repairing, and making your clothing last forever- and boy is it simple!! PLUS with these easy steps, your clothes will level-up in coolness with that perfectly worn-in, vintage look.</span></p>
<p> </p>
<p><span style="font-weight: 400;">Step 1: </span><a href="https://www.amazon.com/SINGER-01511-Survival-Sew-Kit/dp/B072Y9LC7K" target="_blank" rel="noopener noreferrer"><span style="font-weight: 400;">Sewing kit</span></a><span style="font-weight: 400;">! Thankfully they’re affordable and small enough to carry around with you on the daily or while traveling. One of the most common clothing mishaps is an unraveling seam- also, thankfully, the easiest thing to fix! (For you newbie sewers like us, </span><a href="https://www.wikihow.com/Thread-a-Needle-and-Tie-a-Knot" target="_blank" rel="noopener noreferrer"><span style="font-weight: 400;">here’s</span></a><span style="font-weight: 400;"> how to thread a needle.)</span></p>
<p> </p>
<p><span style="font-weight: 400;">Step 2: Learn 1 (or all if you’re an overachiever) of the 6 classic types of hand stitching. For the seam on the shirt in the pics we chose to sew a running seam and then secured it with a whipstitch. </span><a href="https://www.google.com/search?q=how+to+sew+a+split+seam&oq=how+to+sew+a+split+seam+&aqs=chrome..69i57j0j69i64l3j0.8428j0j7&sourceid=chrome&ie=UTF-8#kpvalbx=1" target="_blank" rel="noopener noreferrer"><span style="font-weight: 400;">Here</span></a><span style="font-weight: 400;"> is a great video to follow along!</span></p>
<p style="text-align: left;"><img alt="" src="//cdn.shopify.com/s/files/1/0362/4453/files/mending-40_grande.jpg?v=1560796796" style="float: none; display: block; margin-left: auto; margin-right: auto;"></p>
<p>Vintage t-shirts are a rad addition to any wardrobe but tend to be very delicate! This one had a split seam in the shoulder. </p>
<p style="text-align: left;"><img alt="" src="//cdn.shopify.com/s/files/1/0362/4453/files/mending-17_grande.jpg?v=1560796613" style="float: none; display: block; margin-left: auto; margin-right: auto;"></p>
<p style="text-align: left;"><img alt="" src="//cdn.shopify.com/s/files/1/0362/4453/files/mending-8_grande.jpg?v=1560796518" style="float: none; display: block; margin-left: auto; margin-right: auto;"></p>
<p><span style="font-weight: 400;">Always choose a thread color closest to the garment being sewn. We only chose black here so you could better see the stitches!</span></p>
<p> </p>
<p><span style="font-weight: 400;">Step 3: Patch it up! Pro tip: patches aren’t just cool, they’re also insanely helpful when in a pinch or if intense denim mending skills just aren’t your forte (same.) Most patches are iron-on, which will hold to your clothing for like </span><i><span style="font-weight: 400;">a day</span></i><span style="font-weight: 400;">. Once washed and worn, the glue can become loose on iron-ons, so always give the outer rim of the patch a good and secure whipstitch or running stitch. </span></p>
<p style="text-align: left;"><img alt="" src="//cdn.shopify.com/s/files/1/0362/4453/files/mending-33_grande.jpg?v=1560796739" style="float: none; display: block; margin-left: auto; margin-right: auto;"></p>
<p>The hole in a good old pair of Levis we decided to patch up^</p>
<p style="text-align: left;"><img alt="" src="//cdn.shopify.com/s/files/1/0362/4453/files/mending-22_grande.jpg?v=1560797476" style="float: none; display: block; margin-left: auto; margin-right: auto;"></p>
<p style="text-align: left;"><img alt="" src="//cdn.shopify.com/s/files/1/0362/4453/files/mending-2_grande.jpg?v=1560796135" style="float: none; display: block; margin-left: auto; margin-right: auto;"></p>
<p>Step 4: Be a little more delicate with your clothes. The more clothes see the washing machine and ESPECIALLY the dryer, the more they deteriorate. Something we’ve learned the hard way is to hand wash your more delicate vintage pieces to maintain their structure. Here's a how-to guide for hand washing, because sometimes the most simple tasks have guidelines you should follow. (<a href="https://www.wikihow.com/Wash-Clothes-by-Hand" target="_blank" rel="noopener noreferrer"><span style="font-weight: 400;">https://www.wikihow.com/Wash-Clothes-by-Hand</span></a><span style="font-weight: 400;">)</span></p>
<br>
<p><span style="font-weight: 400;">Making your clothing last is all about personal preference and what works best for you. Maybe learning how to sew can be your summer 2019 hobby! A cool patch can start a great conversation with a stranger and you can eat it up when your friends brag about your rare new sewing skills. Next, you can start making headbands, second-hand tees, and home-made patches with the fabrics from your projects because isn’t that how all great businesses start these days? From the ground up, with friends behind ya, and an eco-friendly mission!? However you choose to keep your clothes kicking longer (ps- forever is possible), always remember you are taking one more great step toward keeping textiles and waste out of our Earth's landfills. And hey- we think that’s pretty rad. </span></p>)